 2026-07-27
 Content
If you work with pneumatic or hydraulic systems, you've probably run into a solenoid valve at some point. But a solenoid valve isn't one solid chunk of metal — it's made up of several smaller solenoid valve parts that all have to work together for the valve to open, close, and control flow properly. When even one small piece wears out, the whole valve can start leaking, sticking, or failing completely. Understanding what these parts are, how they work, and when to replace them can save you a lot of downtime, money, and frustration down the road.
Whether you're maintaining industrial equipment, an irrigation system, or a home appliance, knowing your solenoid valve parts inside and out means you can troubleshoot problems faster and keep everything running without calling in outside help every time something goes wrong.
Most solenoid valves, regardless of brand or size, share a similar set of core parts. Here's a breakdown of the main components and what each one actually does:
| Part | Function |
| Solenoid coil | Generates the magnetic field that moves the plunger to open or close the valve |
| Plunger (armature) | Moves up and down inside the coil to control the flow path |
| Valve body | Houses all internal components and connects to the piping system |
| Diaphragm | Separates chambers and helps regulate pressure and flow |
| Springs | Return the plunger to its resting position once power is cut |
| O-rings and seals | Prevent leaks between moving and stationary parts |
| Housing/enclosure | Protects the coil and electrical connections from dust and moisture |
Out of all the solenoid valve parts, seals and O-rings tend to wear out the fastest. They're constantly exposed to pressure, temperature changes, and whatever fluid or gas is passing through the system. Over time, they can crack, harden, or lose their shape, which leads to leaks even if every other part of the valve is in perfect condition.
Solenoid valves rarely fail without warning. Usually there are small clues that something is wearing out before the valve stops working entirely. Watch for these signs:
Catching these symptoms early usually means you only need to replace a single part instead of the entire valve assembly.
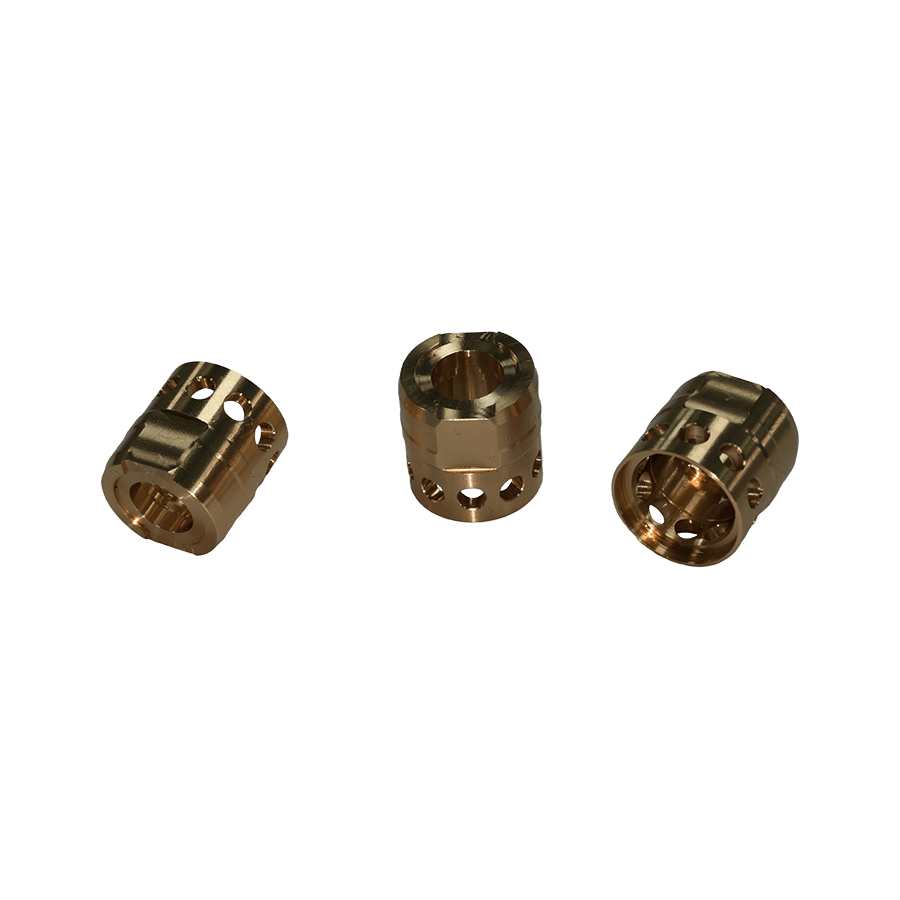
Not all solenoid valve parts are interchangeable, even if they look similar. Picking the wrong part can cause leaks, poor performance, or even damage to the rest of the system. Here's what to check before ordering a replacement:
Coils come in different voltages (like 12V, 24V, 120V, or 240V) and different current types (AC or DC). Installing a coil with the wrong voltage rating can burn it out almost immediately or cause the valve to operate incorrectly.
Seals, diaphragms, and O-rings are made from materials like Viton, EPDM, Buna-N, or PTFE. The right material depends on what's flowing through the valve — water, oil, gas, or chemicals — since the wrong material can degrade quickly or react with the media.
Always double-check the valve's model number, port size, and pressure rating before buying parts. Many manufacturers offer rebuild kits that include all the commonly worn parts sized specifically for that model, which takes the guesswork out of matching components.
Replacing solenoid valve parts is a manageable job if you follow a careful process. Here's a general workflow that applies to most standard valves:
Taking photos before disassembly can be a huge help when it's time to put everything back together, especially with valves that have several small internal parts.
Good maintenance habits can add years to the lifespan of your solenoid valve parts and reduce how often you need to replace them. A few practical habits make a big difference over time.
Keep the surrounding area clean and free of dust, since debris can work its way into the valve body and damage seals or block the plunger's movement. It also helps to run the valve periodically even if it's not in regular use, since staying in one position for too long can cause seals to stick or springs to weaken. Checking voltage supply regularly also protects the coil from overheating, which is one of the most common causes of premature failure.
Scheduling routine inspections, even simple visual checks every few months, can catch small issues like minor leaks or discoloration before they turn into full valve failures.
When sourcing solenoid valve parts, it's worth buying directly from the original manufacturer or an authorized distributor whenever possible. Generic or off-brand parts might be cheaper upfront, but they often use lower-quality materials that wear out faster and can void your equipment's warranty.
Look for suppliers who provide clear specifications, material certifications, and rebuild kits tailored to your exact valve model. Reading reviews and checking return policies can also save you from ending up with parts that don't fit or don't hold up under real working conditions.
 Category

 English
 中文简体
中文简体 عربى
عربى Español
 +86-13861233850